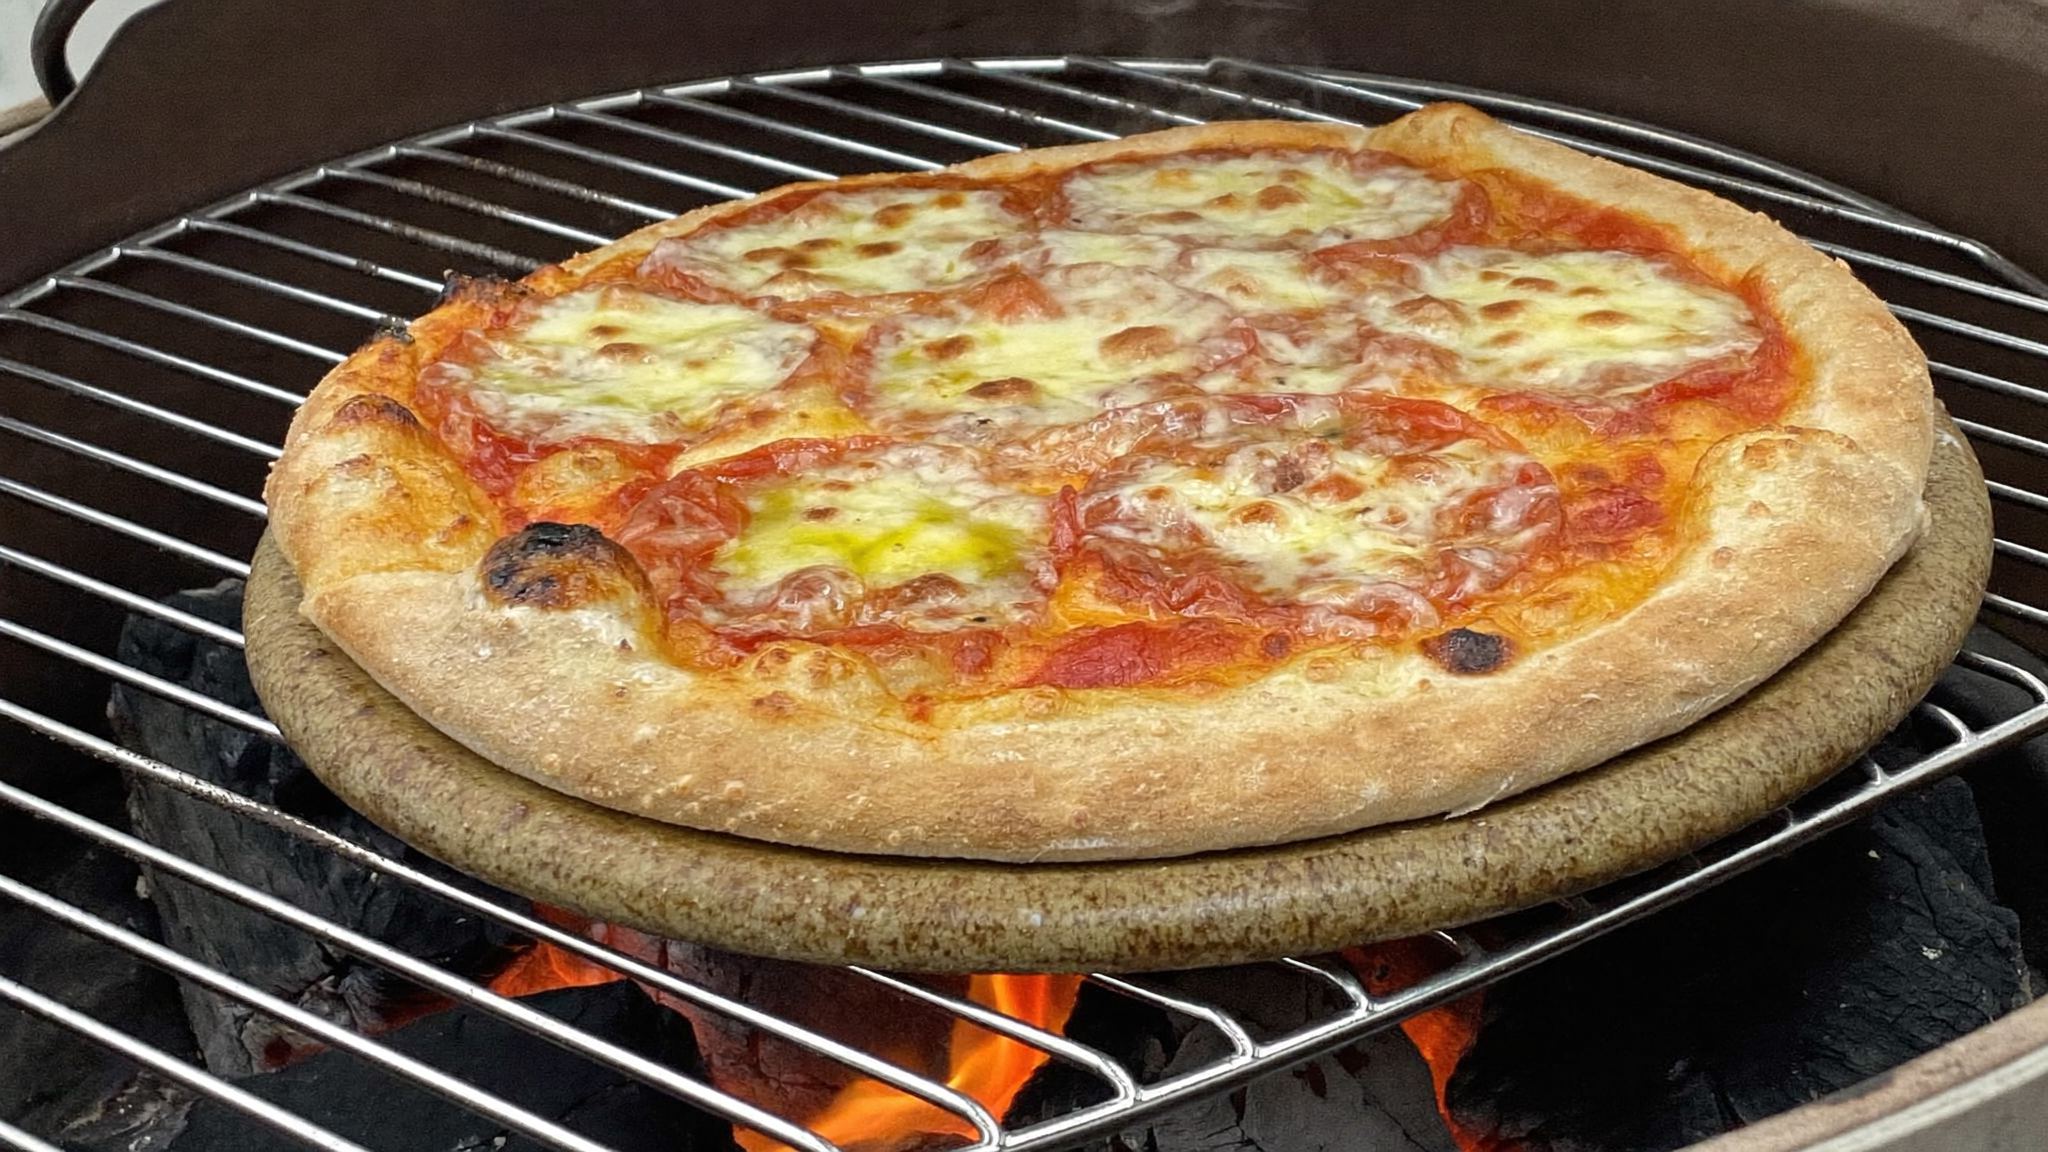
A pizza stone for BBQ grill setups is one of those tools that sounds simple but has a real learning curve. Drop a cold stone onto a screaming-hot grate and you’ll crack it. Skip the preheating and you’ll pull off a pale, doughy disappointment. Get the technique right, though, and a backyard grill produces pizza that runs circles around your kitchen oven — because your oven probably won’t hit 650°F.
This article covers how pizza stones work on a grill, what material actually matters, how to set up your grill for the best results, and the specific mistakes that ruin cooks.
Why a Grill Changes the Pizza Game
A conventional home oven tops out around 500–550°F, and most people bake pizza at even lower temps. A charcoal kettle or a gas grill with the lid closed can push 600°F and beyond. That intense, enclosed heat is what produces:
- A crust that sets fast and gets genuinely crispy on the bottom
- Cheese and toppings that blister and caramelize rather than just melt slowly
- A shorter cook time — often 5–8 minutes instead of 12–15
The stone’s role is to act as a heat battery. It absorbs high heat during preheating and then transfers that energy directly into the dough the moment it makes contact. Without a stone, you’re relying on radiant heat from above and convection from circulating air — the crust never gets that direct sear.
Material Matters: Cordierite vs. Ceramic vs. Cast Iron
Not every pizza stone belongs on a grill. Here’s how the main options shake out.
Cordierite
This is the go-to material for grill use. Cordierite is a naturally occurring mineral used in kiln furniture — literally designed to handle rapid temperature swings. A cordierite baking stone resists thermal shock far better than ceramic, which means you can push it to high grill temps without the crack risk that plagues thinner, cheaper materials. It’s porous enough to absorb moisture from the dough (which contributes to crust crispiness) and dense enough to hold heat well. If you’re serious about using a pizza stone for BBQ grill cooking regularly, cordierite is the right call.
Ceramic
Ceramic stones are fine in an oven. On a grill, they’re a gamble. The issue is thermal shock — the intense, uneven heat from a grill grate can stress ceramic enough to crack it, especially if the stone is thinner or has any microscopic imperfections. Some ceramic stones survive years of grill use; others shatter on the third cook. Not a bet worth taking when the risk is easy to avoid.
Cast Iron
A heavy cast iron baking plate or griddle doesn’t crack, ever. It preheats quickly, holds enormous amounts of heat, and produces an incredibly crispy bottom crust — arguably crispier than any stone material. The downsides: cast iron is heavy, it can impart a faint metallic flavor if it’s not well-seasoned, and it doesn’t absorb moisture from the dough the way porous stone does. The texture of the crust is different — crunchier and more fried-feeling rather than the classic pizza parlor chew. Neither is wrong; they’re just different results.
Setting Up Your Grill
Setup is where most people go wrong. The method differs slightly between gas and charcoal.
Gas Grill Setup
Place the stone on the grill grate before you light any burners. This is non-negotiable. A cold stone dropped onto a hot grate is a thermal shock event waiting to happen. Once the stone is in place, light all burners on high and close the lid. Let it preheat for a full 45–60 minutes. Yes, that long. The stone needs to be saturated with heat all the way through, not just hot on the surface. A cheap infrared thermometer aimed at the stone surface will tell you when you’re actually ready — aim for 500–600°F on the stone itself.
Once the stone is up to temp, turn off the burners directly beneath it or reduce them significantly. Keep the outer or rear burners on high. This creates an indirect zone under the stone so the bottom doesn’t char before the top is done.
Charcoal Grill Setup
Build a two-zone fire. Bank your coals to one side (or use a ring setup around the perimeter, leaving the center clear). Place the stone over the indirect zone. Add the lid and give it 45 minutes to an hour. The enclosed environment acts like a pizza oven — heat reflects off the lid and cooks the top of the pizza while the stone handles the bottom. This setup also means you can shift the pizza toward or away from the coals if one side is cooking faster.
The Actual Cook
Launching the Pizza
Use a well-floured pizza peel — rice flour or semolina works better than all-purpose because it acts more like ball bearings under the dough, allowing a clean slide. Build the pizza directly on the peel. Do a test shake before you open the grill lid: the pizza should slide freely. If it’s stuck, it’ll fold when you try to launch it.
Open the lid, slide the pizza onto the stone in one confident motion, and close the lid immediately. Every second the lid is open, you’re losing heat.
During the Cook
Check at the 4-minute mark. Lift one edge with the peel to look at the bottom — you want golden brown, not pale and not black. On most grills running at proper temp, pizza finishes in 5–8 minutes. Rotate the pizza 180° halfway through if your grill has uneven hot spots (most do).
Don’t walk away. At grill temps, there’s very little margin between perfect and burnt.
After the Cook
Slide the pizza off onto a cutting board and let the stone cool down with the grill. Never move a hot stone, and never hit it with cold water to clean it. Once it’s fully cool, brush off debris. A light scrape with a bench scraper or stiff brush is all it needs. Avoid soap — the porous surface will absorb it.
Dough and Topping Adjustments for the Grill
A few adaptations make grill pizza noticeably better:
Go thinner. A thicker Neapolitan-style dough can char on the outside before the interior is cooked through at grill temps. Stretch your dough to around 10–12 inches and keep it thin in the center.
Less is more with toppings. Piling on wet toppings — too much sauce, fresh tomatoes, excess cheese — releases steam and makes the crust soggy. A light hand with sauce, modest cheese, and a few toppings gives the high heat something to work with rather than fight against.
Pre-cook anything that needs it. Raw sausage, raw mushrooms with high water content, raw peppers — they won’t cook fully in 6 minutes. Sauté or pre-roast them first.
Oil the dough edge. Brush the outer crust with olive oil before launching. At grill temps, this encourages beautiful browning on the cornicione rather than raw-looking dough.
Common Problems and Fixes
| Problem | Likely Cause | Fix |
|---|---|---|
| Burnt bottom, raw top | Stone too hot, lid opened too much | Lower bottom burner, keep lid closed |
| Pale, doughy crust | Stone not preheated long enough | Add 15–20 more minutes of preheat |
| Pizza sticks to stone | Dough moisture, insufficient flour on peel | More semolina on peel, drier dough |
| Stone cracked | Thermal shock or ceramic material | Replace with cordierite; always cold-start |
| Uneven cooking | Hot spots | Rotate pizza midway through cook |
One More Thing Worth Knowing
A pizza stone for BBQ grill use isn’t a one-trick tool. The same cordierite stone or cast iron plate is excellent for bread, flatbreads, and even roasting vegetables directly on its surface. Once you dial in your grill’s temperature behavior and get comfortable with the preheat-and-launch process, you’ll use it far more than you expect.
The grill’s ability to sustain temperatures that a home oven can’t reach is the actual advantage here. The stone is just what makes sure that heat goes exactly where it needs to — straight into the bottom of the dough, the moment it matters.
Leave a Reply