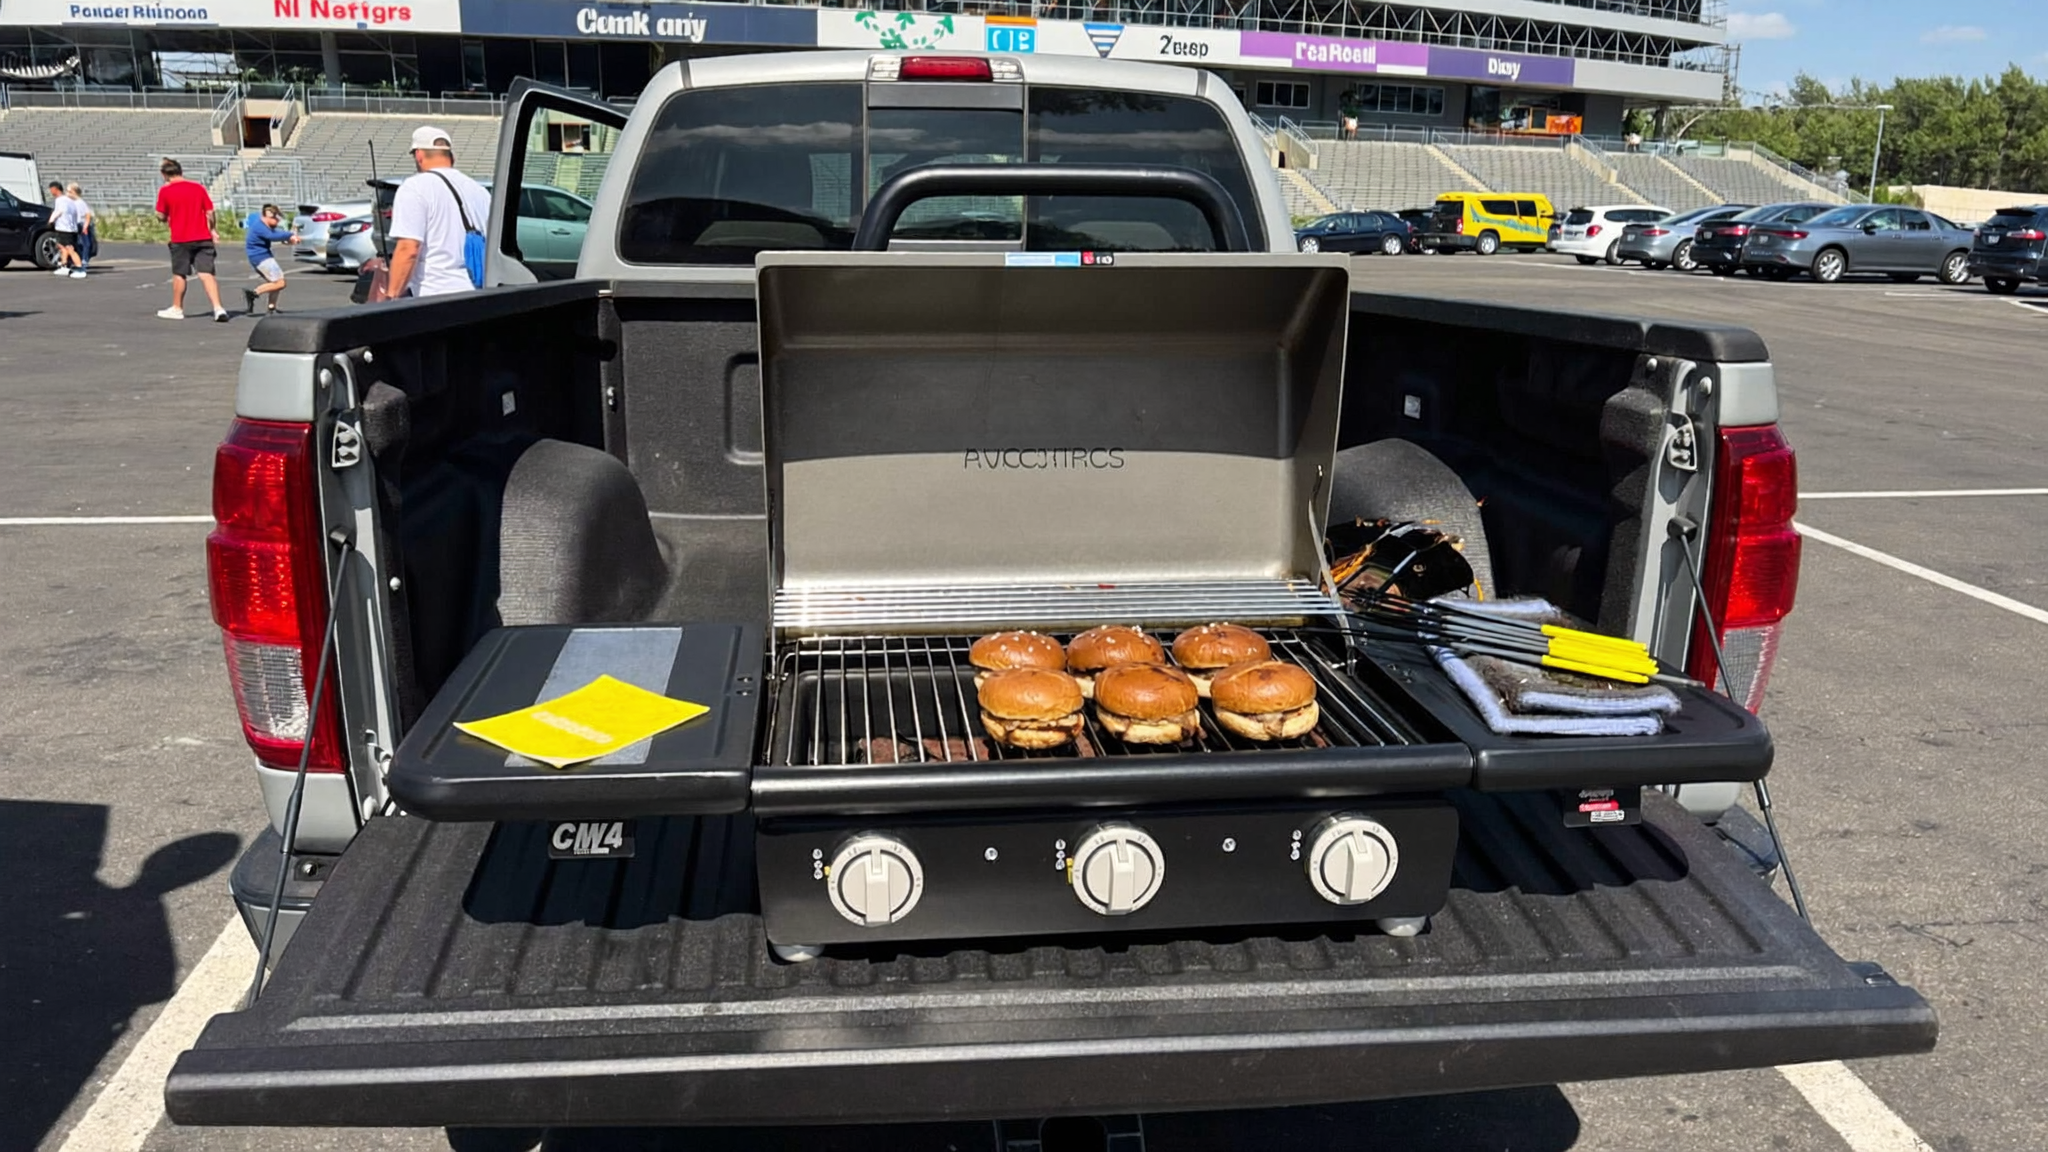
What Makes a Tailgate Gas Grill Actually Work
Disclosure: This page contains affiliate links, which means we may earn a small commission if you make a purchase — at no extra cost to you.
A tailgate gas grill lives or dies by one thing: whether you can pull it out of a truck bed, get it lit, and be cooking brats in under five minutes. Everything else is secondary. I’ve cooked at parking lots, stadiums, campgrounds, and boat ramps. The grills that earn repeat trips share a specific set of traits — and a lot of popular options fail in ways that only show up under real game-day conditions.
Let’s get into it.
Size and Cooking Area: Bigger Isn’t Always Better
The instinct is to go as large as possible. More food, right? Wrong — at a tailgate, you’re fighting for trunk space, and a heavy, awkward grill becomes a liability before you ever fire it up.
For most tailgating groups of six to ten people, a cooking surface in the 200–300 square inch range is the sweet spot. That’s enough to run two to three rounds of burgers without turning the whole operation into a catering event. If you regularly feed twenty people, look at models with fold-out side shelves that expand capacity without adding permanent bulk.
The form factor matters as much as square footage. Rectangular grids maximize usable space per pound of grill. Round or irregular shapes often waste surface area. Also pay attention to the lid height — a low lid is fine for burgers and dogs but makes cooking thicker cuts awkward.
Propane Setup: Tanks, Adapters, and Runtime
Most portable tailgate gas grills run on 1-lb disposable propane canisters or adapt to standard 20-lb tanks via a hose. Both have a place.
1-lb canisters are convenient for short sessions. Expect roughly 60–90 minutes of cook time per canister at medium heat, though that number drops fast at high output. Bring two for a full tailgate. The downside: they’re wasteful and more expensive per BTU.
20-lb tank adapters solve the runtime problem entirely and cost less per cook. The tradeoff is that you’re hauling the tank separately and managing a hose. For parking-lot tailgates where you’re already unloading a cooler and chairs, this is usually worth it.
Check whether your grill came with an adapter or if you need to buy one. Not all grill regulators are compatible with standard QCC1 fittings out of the box. A quick test before game day beats a cold start in a parking lot.
BTU Output and Wind Performance
BTU ratings on portable grills are often used as marketing shorthand for “power,” but they’re only half the story. Efficiency matters just as much as raw output.
A tailgate gas grill used outdoors faces wind. Wind kills performance fast, especially at lower BTU ratings. Grills with a tighter, enclosed burner area with side walls or a lid that seals reasonably well hold heat better than wide-open designs. Some portable grills have cast iron grates that retain heat well even when the burner cycles — a real advantage when you’re pulling cold burgers straight from the cooler.
A good rule: look for a grill that can reach searing temperature (around 450–500°F) within 10 minutes in mild conditions. If a grill can’t do that, it’s going to frustrate you when the wind picks up or the weather turns.
Ignition Reliability in Cold and Wind
Piezo igniters — the click-start systems built into most grills — work fine in warm, calm conditions. In October tailgates, they can be infuriating. Cold temperatures reduce propane pressure slightly, and wind blows out the initial flame before it catches.
A few things help:
– Igniters with multiple spark points (one per burner) are more reliable than single-point systems.
– Push-button ignition generally outperforms the older flint-wheel style.
– Always carry a long-reach lighter as backup. Always. Not as an afterthought — as standard kit.
This is non-negotiable if you tailgate anywhere with real fall weather.
Portability: Legs, Handles, and Setup Time
Portability on a tailgate gas grill breaks down into three sub-categories: transport, setup, and teardown.
Transport: Folding legs and locking lids are the baseline. A grill that rattles apart in the truck bed is dangerous and annoying. Look for positive-locking mechanisms, not just friction fits. Built-in carry handles that don’t get hot are a quality indicator worth checking.
Setup: The goal is two minutes or less from case to cooking. Grills that require tool assembly, multiple unfold sequences, or fiddly bracket alignment eat into your pre-game time. Test the setup sequence before your first tailgate — not in the parking lot.
Teardown: Often ignored, always important. You’re breaking down a hot grill after eating. Grates that pop out easily, grease trays that slide without spilling, and legs that fold without pinching your fingers — these small details separate good designs from frustrating ones.
Weight is real. A tailgate gas grill you can carry in one hand (think under 20 lbs) versus one that needs two people to move safely — that difference compounds over a season of weekly use.
Cooking Performance: Grates, Heat Distribution, and Flare-Ups
Cast iron grates hold heat better than stainless rods and produce better sear marks. They’re heavier and require more care, but for tailgate cooking where you want confidence searing burgers fast, they earn their weight.
Heat distribution is where a lot of portable grills fail. Uneven heat creates hot spots — typically dead center over the burner — and cold zones at the edges. This matters when you’re managing multiple items at different stages. If a grill has a flavorizer bar or heat tent system over the burners, it usually distributes heat more evenly than exposed tubes.
Flare-ups happen. Fat drips, things get messy. Good grease management — a catch tray that actually catches, positioned to drain properly — keeps flare-ups controlled rather than turning into a grease fire incident in a parking lot full of cars. This is worth more attention than most people give it.
Wind and Weather: Real-World Conditions
Tailgating happens rain or shine. A few practical notes:
- Cold weather: Propane pressure drops below about 40°F, reducing output. Keep your canister or tank out of direct wind and consider bringing it inside the vehicle while driving to pre-warm it.
- Rain: Most portable grills are not weatherproof. Cook under a pop-up canopy when possible, and make sure water can’t pool inside the grill body during storage.
- High altitude: Gas pressure and combustion efficiency both drop. Budget extra warmup time.
What to Cook (and What to Avoid)
A tailgate gas grill is built for fast, high-heat cooking. It excels at burgers, sausages, hot dogs, chicken thighs, corn, and skewered vegetables. Thick steaks are doable with care — crank it, sear hard, move to the edge to finish.
What it doesn’t do well: anything requiring sustained low heat, smoking, indirect long cooks, or baking. Don’t try to reverse-sear a thick ribeye on a small portable grill at a tailgate. The BTU output fluctuates too much, and the stakes are too high with a crowd waiting.
Keep the menu realistic. Simple, fast food cooked well beats an ambitious menu cooked inconsistently.
Cleaning and Storage Between Events
The number one way to kill a portable grill early is storing it with grease in the catch tray and carbon buildup on the grates. After every session:
- Burn off residue with a 5-minute high-heat run after you finish cooking.
- Brush the grates while still warm.
- Empty the grease tray before packing.
- Cover or bag the grill before storing in the truck or garage.
Cast iron grates need a very light oil wipe after cleaning to prevent rust. A paper towel with a few drops of cooking oil takes ten seconds and prevents a frustrating rust problem later in the season.
If you do that consistently, a well-built tailgate gas grill will last you a long time — and that’s the whole point.
See it in action
@chrismikerabe
Leave a Reply