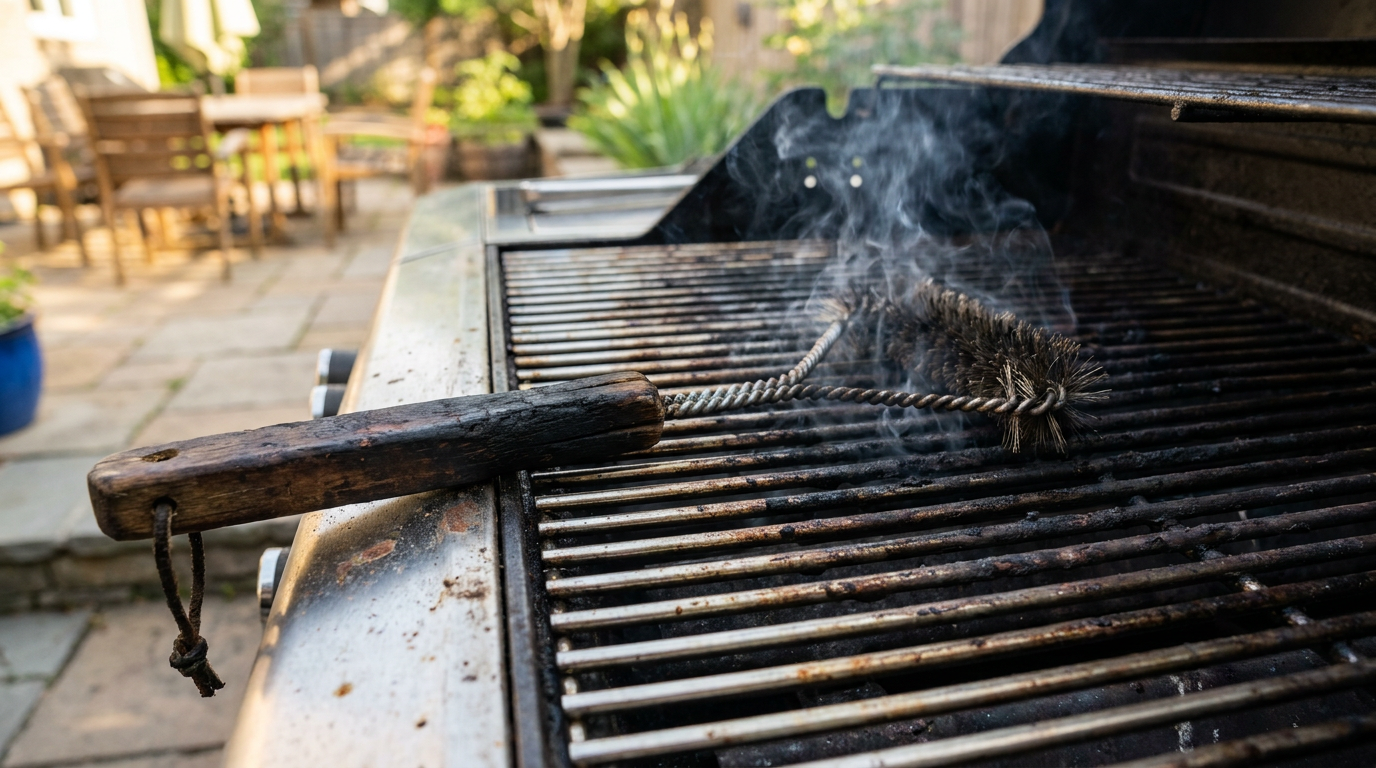
Barbecue Grill Brush: How to Choose and Use One Right
Heads up: some links on this site may be affiliate links, meaning we earn a small commission if you buy — at no extra cost to you.
A barbecue grill brush sounds like the most boring piece of equipment in your backyard setup. It isn’t. Use the wrong one on the wrong grate and you’ll damage a $400 cooking surface. Use a worn-out one and you risk wire bristles ending up in food — a genuine safety issue that’s sent people to the ER. Get it right, though, and a good brush makes grate maintenance effortless and your food taste cleaner every single cook.
Here’s what actually matters.
Match the Brush to Your Grate Material
This is the part most people skip, and it’s the most important decision you’ll make.
Cast Iron Grates
Cast iron is tough but reactive. Wire brushes work fine here — the stiffness cuts through carbonized grease efficiently. But cast iron rusts fast if you scrub off its seasoning layer and leave it wet. After brushing, wipe the grate with a lightly oiled cloth. A stiff-bristled brush with a scraper on the back is ideal for cast iron because the scraper handles thick buildup without you having to press so hard you strip the surface.
Porcelain-Coated Grates
This is where people go wrong most often. Stiff wire bristles will chip porcelain coating, especially on older grates where the surface has micro-cracks forming. Once porcelain chips, the bare metal underneath rusts fast and food sticks badly. For porcelain, use a nylon bristle brush or a coil-style stainless brush with softer, rounder contact points. The cleaning action is gentler but still effective when the grate is hot.
Stainless Steel Grates
Stainless is the most forgiving. Standard stainless-wire bristle brushes work well. You can scrub harder without worrying as much about surface damage. That said, don’t confuse “forgiving” with “indestructible” — heavy-handed scrubbing on lower-grade stainless can still scratch and create pits where bacteria and grease accumulate.
Grill Grates (the aftermarket kind) and Cast Aluminum
These specialty surfaces often have valleys and peaks that trap debris. A narrow-head brush or a grate brush with angled bristles reaches into those grooves better than a wide paddle-style brush.
Wire Bristle Brushes: The Safety Conversation
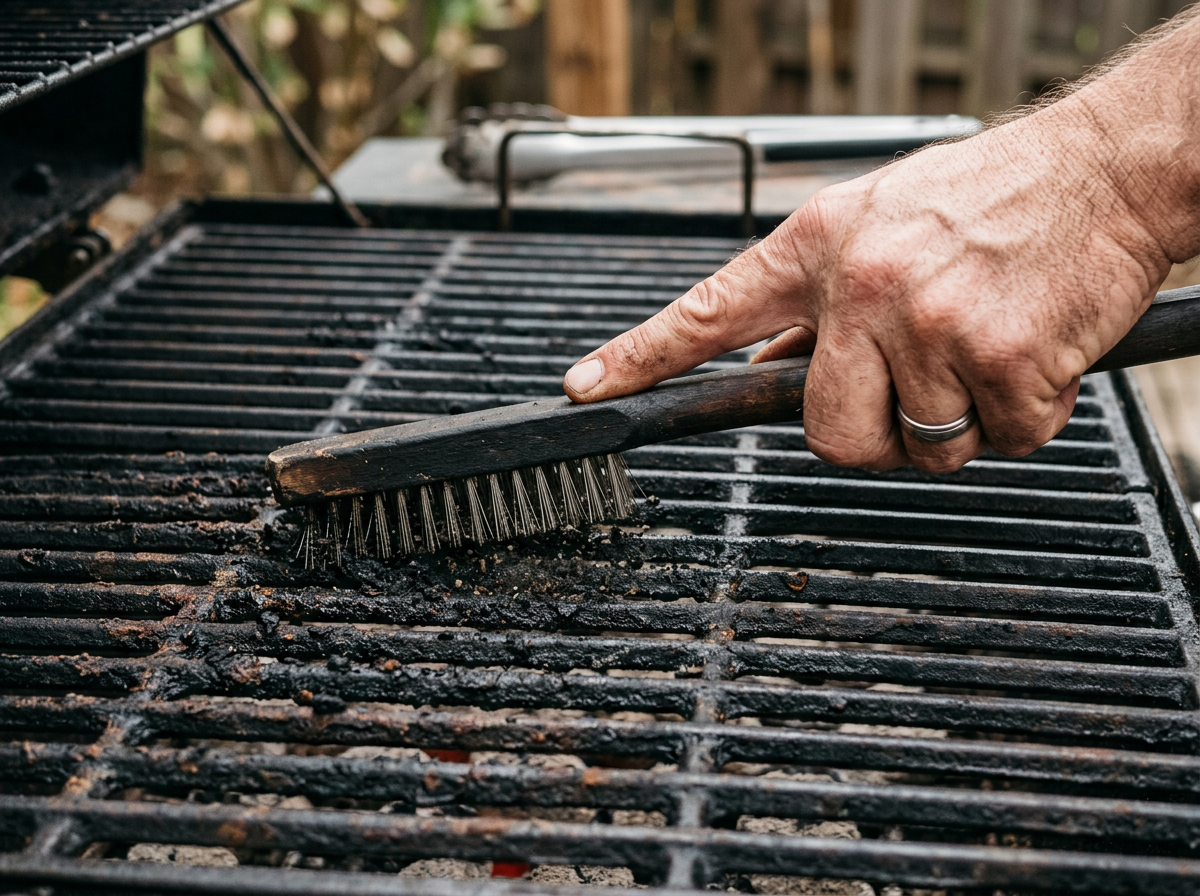
Wire bristles shedding into food is real. It happens most often with cheap brushes or brushes that are past their useful life — the bristles fatigue, weaken at the crimp, and snap off. A short wire bristle sitting in a burger is invisible and causes serious internal injury.
The risk is manageable, not a reason to panic:
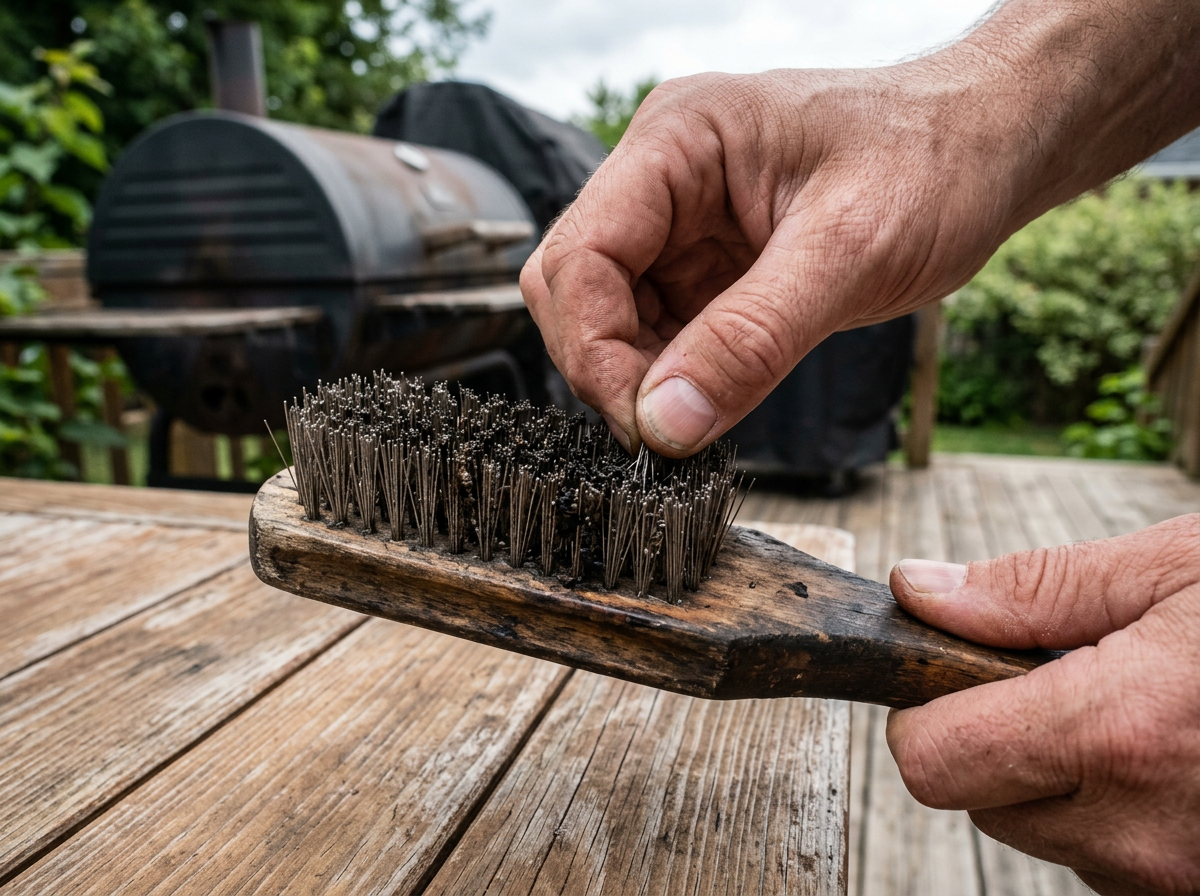
- Inspect before every use. Run your thumb across the bristle head. If bristles feel loose, pull away, or the brush is shedding when you press it, throw it out.
- Check the grate after brushing. A quick visual sweep for any stray wires before you put food down takes five seconds.
- Replace wire brushes more often than you think. Once or twice a season if you grill regularly. They’re not expensive. Don’t push a brush past its useful life.
If you’re cooking for kids frequently or just prefer not to have the risk in your routine, coil brushes (a continuous spiral of wire rather than individual bristles) eliminate the loose-bristle problem almost entirely. They do clean a little less aggressively on heavily fouled grates, but that’s a trade-off many people are happy to make.
Handle Length and Build Quality
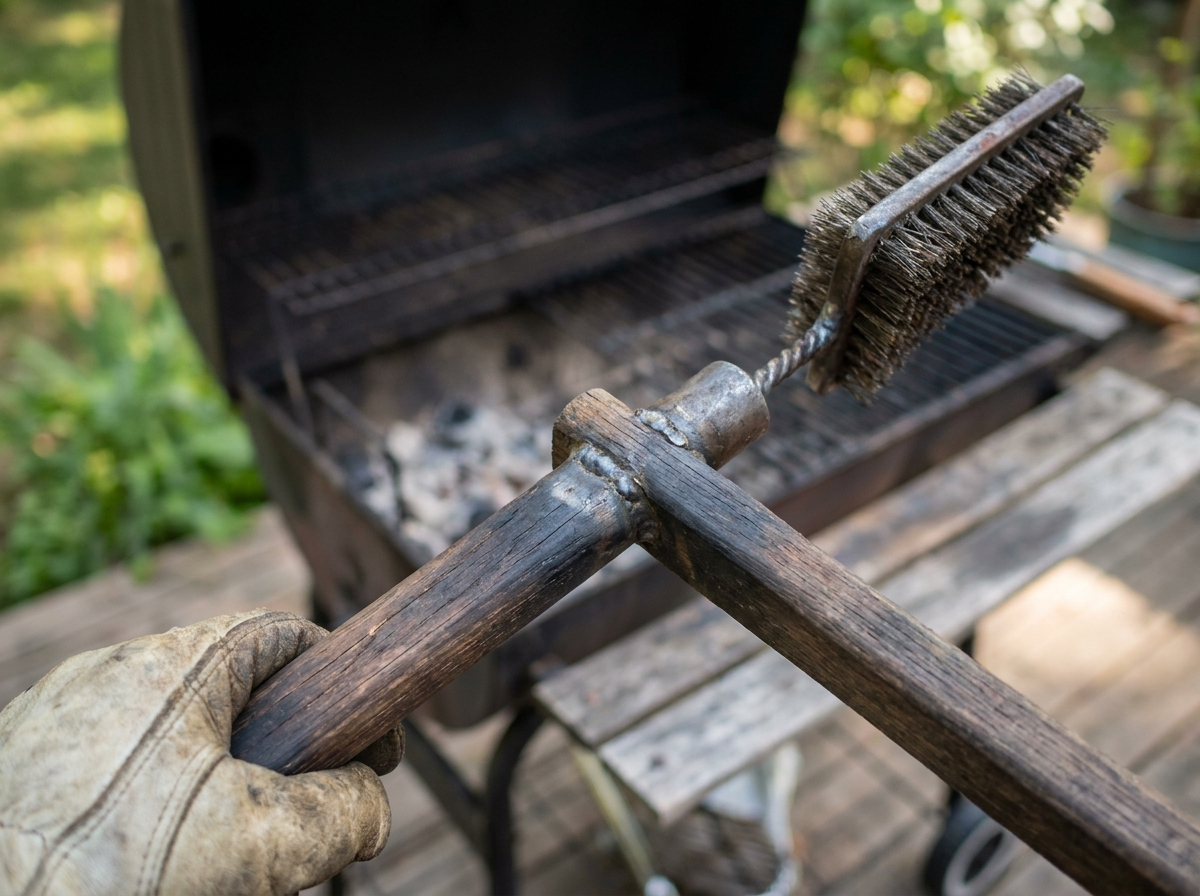
Shorty brushes — the kind with a four-inch handle — are nearly useless on a hot grill. You’ll burn your hand or stay so far back that you can’t apply real pressure. Look for at least a 12-inch handle. Eighteen inches is better for deep-lidded grills or when you’re cleaning while the grates are still hot.
Handle material matters too. Hollow plastic handles flex under pressure, which is annoying. Solid wood or stainless handles are more rigid and more comfortable for extended scrubbing. Some brushes have a slight angle between handle and head — that angle lets you apply downward pressure without your knuckles dragging across the grate, which you’ll appreciate on the second cook of the day when you’re impatient to get going.
The connection point between handle and brush head is where cheap brushes fail. Look at how the head attaches. If it’s a single thin rivet or just glue, pass. A well-made brush has a solid weld or a wide stamped-metal collar.
When and How to Use It
Heat First, Then Brush
Brush a hot grate, not a cold one. Preheat your grill for ten to fifteen minutes with the lid closed. The heat loosens carbonized residue and makes it much easier to scrub off. Cold scrubbing is twice the work for half the result.
The Two-Clean Method
Pro move: brush before and after cooking, not just after.
- Before cooking: gets rid of leftover carbon and any debris from the last session. Your food touches a clean surface.
- After cooking: gets the bulk of the fresh grease and residue while the grate is still hot and the material is soft. Much easier than waiting until next time when it’s baked on solid.
This doubles your grate’s lifespan and takes maybe 90 seconds total.
Technique
Short, firm strokes along the grate bars — not wild scrubbing. Work in the direction of the bars so the bristles track the gaps and actually dislodge debris instead of just skating over it. For heavy buildup, a brief spray of water onto a very hot grate creates a steam burst that loosens residue, making your barbecue grill brush work dramatically more effectively. Don’t drench it — a light spritz is enough.
Alternatives That Actually Work
Brushes aren’t the only option, and for some people they’re not the best one.
Grill stones (pumice-based blocks): good for porcelain grates and for people who don’t want any wire near their food. They wear down and need replacing, but they’re safe and effective.
Onion method: cut a halved onion and rub it across a hot grate with tongs. The steam and mild acidity clean surprisingly well and add trace flavor. Better as a quick clean between heavier sessions than a primary cleaning tool.
Crumpled aluminum foil: in a pinch, gripped with long tongs, works reasonably well on stainless or cast iron. Rough on porcelain. Don’t make it a habit but it’s useful when you’ve forgotten your brush.
Scraper-only tools: flat metal scrapers with no bristles at all are gaining traction. They’re safe, durable, and last for years. The tradeoff is they don’t reach into the grate bar grooves as well, so some residue stays behind.
How Long a Brush Should Last
There’s no fixed number here — it depends on frequency, heat exposure, and build quality. The honest answer is: the brush tells you when it’s done. Bristles that fan out excessively, shed under light pressure, or have a head that wobbles on the handle mean the brush is past its useful life.
For most people grilling two to three times a week through a season, plan on replacing a wire brush at least once, maybe twice, per grilling season. A quality coil brush lasts longer. A good scraper-style tool can go several seasons with no degradation.
Store brushes in a dry spot. Leaving them outside means the metal components rust and the bristles weaken faster. Ten seconds to bring it inside is worth it.
The Honest Summary of What to Get
If you have porcelain grates: a soft-bristle or coil brush, full stop.
If you have cast iron or stainless: a stiff wire brush with a scraper edge and a handle long enough to actually use comfortably.
Inspect it every time, replace it when it looks rough, and brush hot rather than cold. That’s genuinely all there is to it. A good barbecue grill brush used correctly is one of those tools that becomes invisible — you stop thinking about it because the grate is always clean and the food always tastes right.
Leave a Reply